Sooo huge!!! Much more to say about this but in the meantime just wanted to share that it really saved my bacon yesterday…
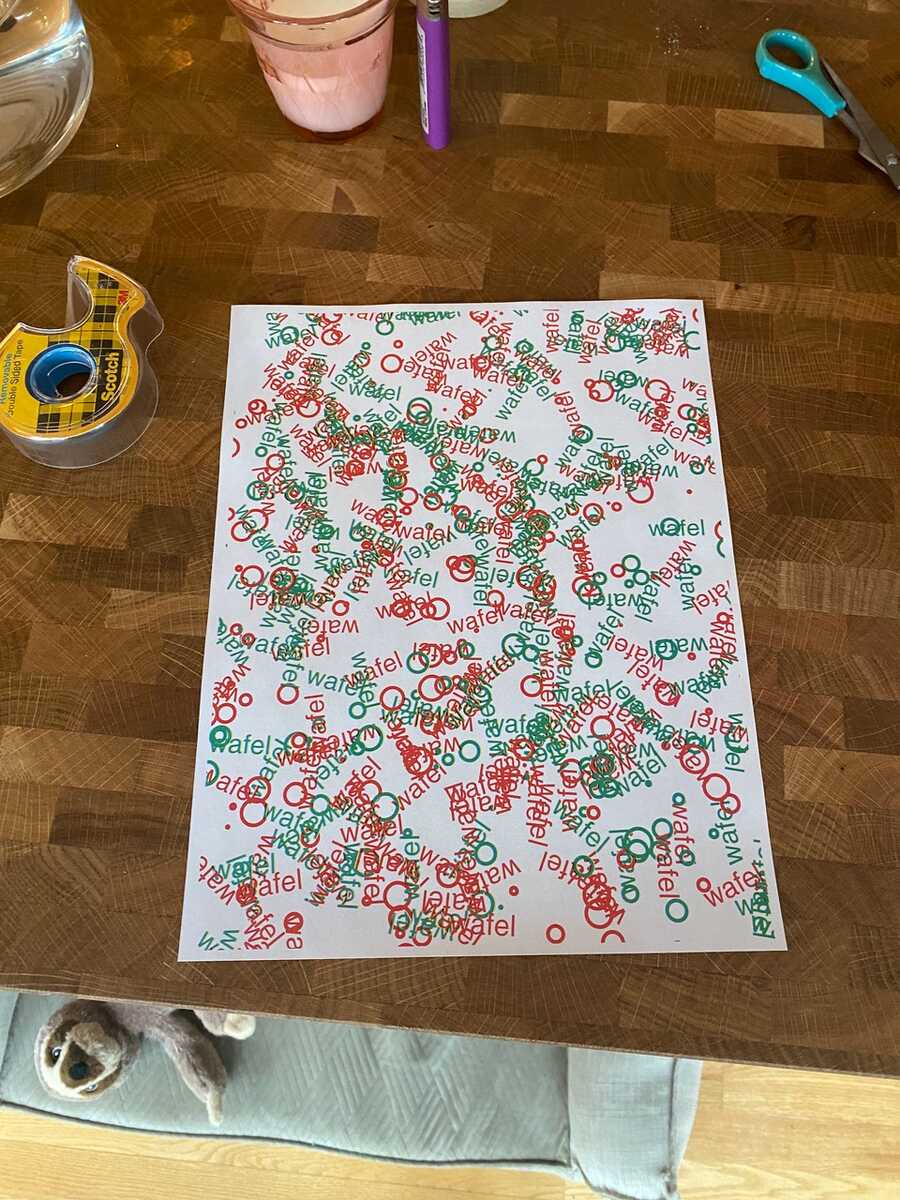
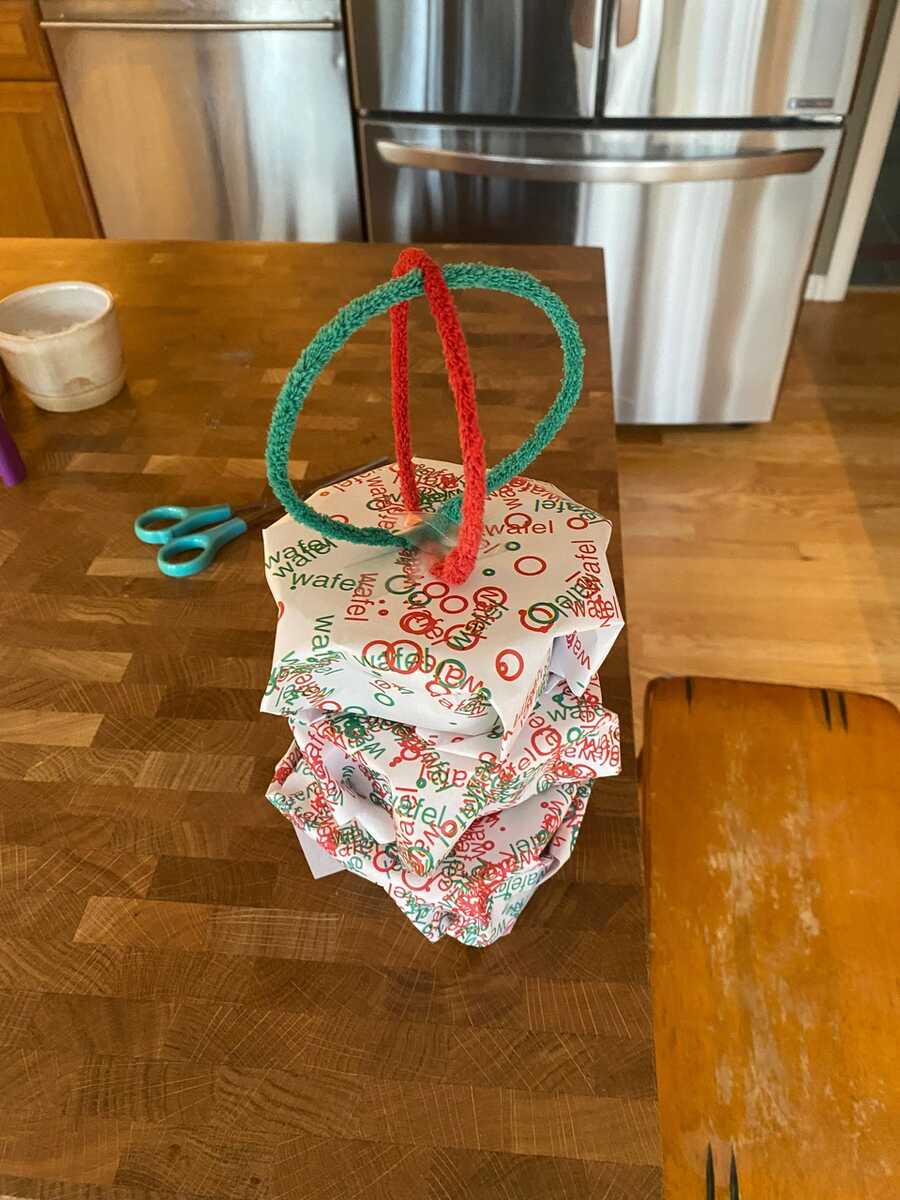
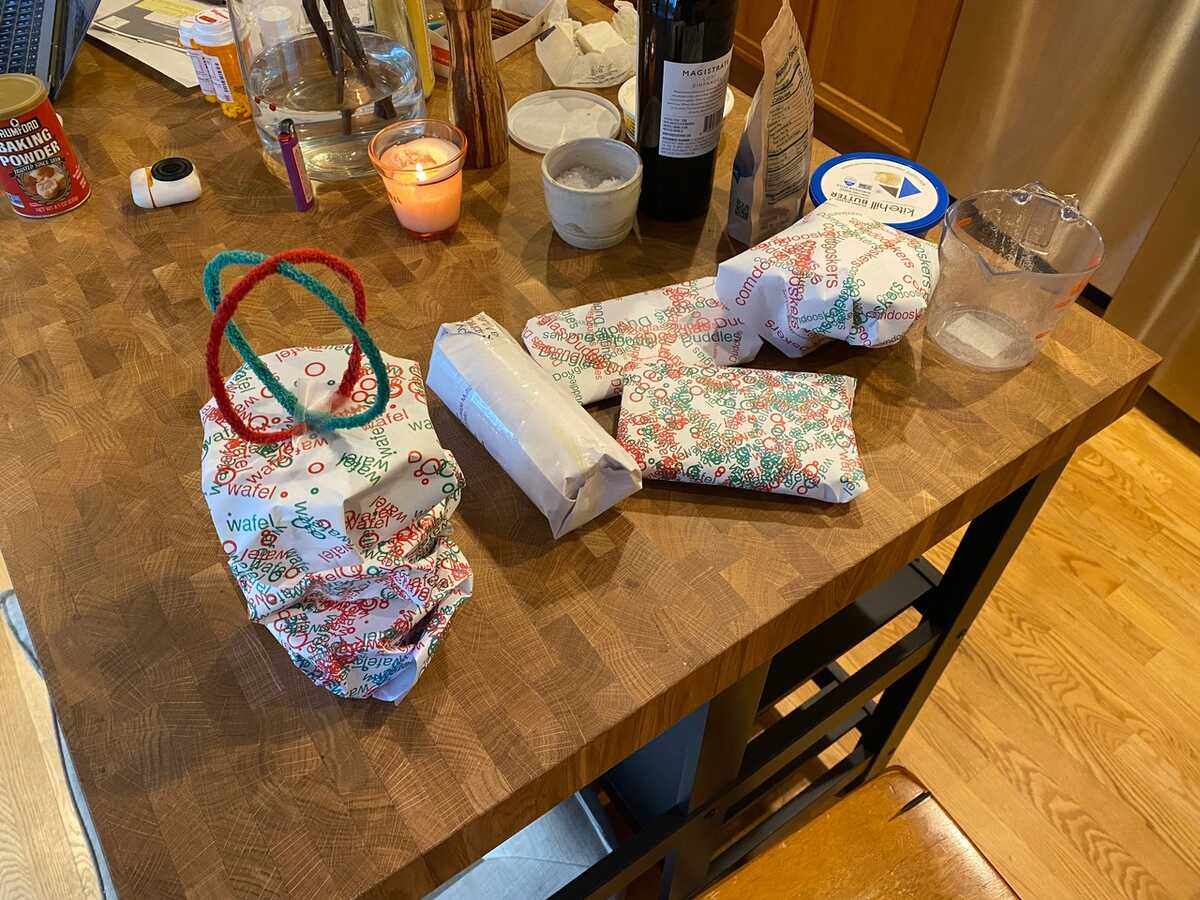
The best part was how eminently & authentically *casual* this was… I had the idea, wrote the code and had the result in under a minute... then Alex saw her present and immediately said “hey I want to do that”, we walked over to the table where my generator still sat, flipped it over and she made more customized wrapping paper for Duddles and Jerry with 0 instruction from me... it was all just _there_. Wonderful!!
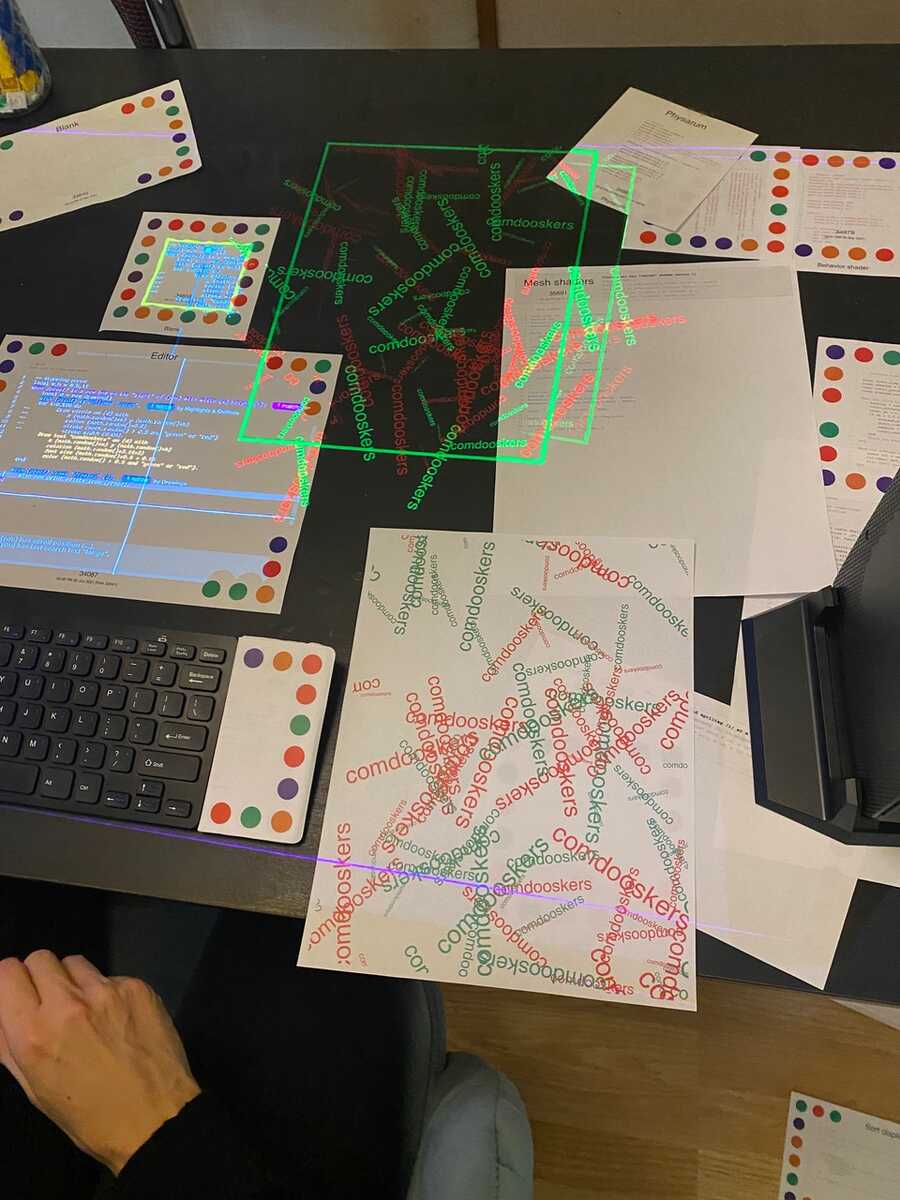
On Dec 21, 2021, at 11:58 PM, Bret Victor wrote:SummaryIn between working on the move, I accidentally completely rewrote Illumination Kit and Print Kit. Illumination and printing are now much easier to do, and also they're the same thing.- Instead of "illuminations", we now have "drawings".- There's a nice syntax for drawing drawings, and general ways of transforming and composing them.- Drawings are equally happy being illuminated and being printed.- In fact, the only way to print is to draw onto a "proof" object, exactly as if you were illuminating it.- You can print anything, not just pages.- PostScript is out, PDF is in.A drawing can come from: "Draw" commands, tracing an image, an existing vector graphic...A drawing can be used for: illumination, printing, poster-printing, laser-cutting, ...Drawing Kit (replaces Illumination Kit)Drawing basicsWishing for a single drawing still works as it used to:Wish (p) draws "rectangle" with width (3) height (2).Some shapes take a direct object, which you can now give like so:Wish (p) draws "text" "Hello there!" with color "red".That's the same as the following, but is more readable:Wish (p) draws "text" with text "Hello there!" color "red".If you want to draw something more complicated in a single wish, you make a new drawing and draw onto it:local d = new_drawing()Draw rectangle on (d) with width (3) height (2).Draw text "Hello there!" on (d) with color "red".Wish (p) draws "drawing" (d).The options accepted by 'Wish (p) draws "shape"...' and 'Draw shape on (d)...' are exactly the same, except "priority" is only meaningful for wishes.Drawing shapesThe shapes currently defined in Drawing Kit are: drawing, rectangle, circle, line, arc, curve, path, text, image, value, QR code. See their pages for details. They mostly behave the same as the old illumination methods, with a bit of cleanup.Shapes are now defined by a claim, not a global variable:local function draw_labelled_circle (d,o)Draw circle on (d) with options (o).Draw text on (d) with alignment "center" options (o).endClaim "labelled circle" is drawn using function (draw_labelled_circle).-- elsewhereDraw labelled circle on (d) with radius (2) text "Hi".Drawing transformsIn addition to their shape-specific options, all shapes accept a set of generic transform options. Here are all of them, with typical values. (Many of them are rather generous in the values they accept.)Wish (p) draws "rectangle" withorigin { x=3, y=3 } -- origin point for rotations and scalestransform { x=1, y=2, degrees=90, scale=2 } -- all fields are optionaltranslation { x=1, y=2 }rotation (math.pi/2) -- can also be { radians=math.pi/2 } or { degrees=90 }scale (2) -- can also be { x=2, y=4 }mask (mask) -- mask is a drawingclip { x=0, y=0, width=10, height=1 } -- all fields are optionalblend "lighter"opacity (0.5).A mask is just another drawing; its stroke/fill doesn't matter, just its paths. Your shape will be clipped to the mask's paths. Masking illuminations is a little dodgy (using the "atop" trick) but masking in print works great. Blend modes and opacity currently don't work in print.Drawing drawingsYou can draw drawings on drawings.local donut_d = new_drawing()Draw circle on (donut_d) with x (0) y (0) radius (0.1).Draw circle on (donut_d) with x (0) y (0) radius (0.2).local d = new_drawing()for x = 1,10 doDraw drawing (donut_d) on (d) with x (x) y (1).endUsing the old illumination API often involved a lot of inline translating, rotating, saving, restoring. We don't do any of that anymore. To draw something in a rotated coordinate system, just draw it in its own coordinate system, and then draw that drawing rotated:local d = new_drawing()Draw text "Hello" on (d) with x (0) y (0).Draw circle on (d) with x (0) y (0) radius (0.1).Wish (p) draws "drawing" (d) with x (4) y (3) rotation { degrees=30 }.To draw something clipped to a box, draw it on a drawing, and then draw that drawing clipped:local d = new_drawing()for y=1,100 doDraw text "Hello" on (d) with y (y).endWish (p) draws "drawing" (d) with clip { height=4 }.Etc. This is a less imperative, more object-y way of thinking about graphics, corresponding to how you think about objects and sub-objects in a vector graphics editor, and it means that the only operation you perform on a drawing is to draw more shapes on it.In addition to all the generic options, you can use color options to recolor a drawing's paths:local circle_d = new_drawing()Draw circle on (circle_d) with x (0) y (0) radius (1).local filled_d = new_drawing()Draw drawing (circle_d) on (filled_d) with fill "blue".local stroked_d = new_drawing()Draw drawing (circle_d) on (filled_d) with stroke "yellow" stroke width (0.1).I expect this to be useful for, e.g., getting a traced image as a drawing, and then converting it into a laser-cuttable path by applying the stroke color and stroke width that the laser cutter expects.Text width and heightSome shapes (currently text and value) can return values, which you get by declaring /variables/ after the "with", like so:local x = 0Draw text "Hello " on (d) with x (x) width /w/ color "blue".x = x + wDraw text "there." on (d) with x (x) width /w/ color "red".x = x + wIllumination compatibilityThere's a one-pager "Illumination compatibility" which implements a pretty thorough emulation of the old illumination API. So all the old code should still work. But the system rules have all been converted to drawings, and we should use drawings going forward.A lot of the relations and functions in the system still use the word "illumination", and while some of them should obviously be changed (e.g. "draw_one_illumination" should be "render_one_drawing"), I'm not completely sure yet if/when the illumination terminology is appropriate, so things will probably get renamed gradually as we get used to the drawing concept.Print KitSimple printingYou can now print anything at all, not just Realtalk pages. Just draw on an object and wish a new print exists from it. We call the (typically virtual) drawn-on object a "proof", and the resulting piece of paper a "print".When /proof/ is a new box on the "right" of (you) with width (8.5) height (11):Wish (proof) is highlighted "yellow".Wish (proof) is labelled "Hi!" with color "blue".Wish new print exists from (proof).EndPaper options are inferred from the proof's dimensions, but they can also be given explicitly if necessary:Wish new print exists from (proof) with paper size "tabloid" orientation "landscape" printer "my-printer".Someday printers will be objects, but not today.(Proofs are typically virtual objects rather than pages, because a page's width and height doesn't match a paper's width and height, and pages have illuminations like the default border which you don't want to get printed.)Multi-side printingDraw each side of the proof on its own object. You can have as many sides as you like. By default, we print two sides to a sheet; if this is a problem for some reason, set the "duplex" option to (false).When /proof/ is a new box on the "right" of (you):When /front/ is a new box on (proof) with x (0) y (0) width (8.5) height (11):Claim (front) is side (1) of (proof).Wish (front) is labelled "Front!" with color "red".EndWhen /back/ is a new box on (proof) with x (8.6) y (0) width (8.5) height (11):Claim (back) is side (2) of (proof).Wish (back) is labelled "Back!" with color "green".EndWish new print exists from (proof).EndConverting to PDFThe print wish effectively does this, and you can do either part of it yourself:When (proof) is converted to PDF /pdf/:Wish new print exists from PDF (pdf).EndLike all file-like things, "pdf" is a URL. If an object does this:When (proof) is converted to PDF /pdf/:Claim (you) represents "pdf" (pdf).Endand you point a "To PC from left" tool at this object, the rendered drawing will not only show up on your PC, it will update live as the proof updates, which is probably useless but pretty neat.Converting to PDF is especially useful for things like laser cuts, which we can't (currently) print directly from lpr.Printing a pageTo allocate a new page number and print a new dot-framed page based on an existing page, the old wish still works:Wish new page exists from page (p).As well as the old wish to print a new page ex nihilo:Wish new page exists with text (text).Both wishes accept page-specific options, which you can find on the "Page print options" page. Options can also be wished on the source page itself. (These used to be claims.)Wish (you) prints with orientation "landscape" columns (2) line numbers shown (false).Drawing on a pageTo draw extra drawings on a page when it is printed:When (you) prints side /side/ from /proof/:Wish (proof) is labelled "Hi!" with color "yellow".EndIf you only want to draw on particular sides, you can use the "side" parameter to distinguish them. A page with 100 lines will have four sides: 1 (initial text with banner), 2 (continued text), "blank" (padding), and "front" (initial text with dotframe).The normal page accoutrements (dot frames, text, etc.) are drawn in exactly this way, and you can look at "Printing dot frames" etc for examples.The proofs you are drawing on here are not the size of the paper -- they are the size of the dot frame. Illuminated drawings and printed drawings are in the same coordinate system and will line up exactly. (e.g. for both illuminations and page proofs, the origin is the center of the top-left dot, which is inset 0.5 inches from the corner of the paper). However, unlike illuminations, drawings on the proof are not clipped to the dot frame, so you are free to draw outside the frame onto the surrounding paper.All of the old ad-hoc print features (print with background color, print with image, etc.) are gone gone gone. Just draw on the proof exactly as if you were drawing an illumination. Like illuminations, use priorities for z-ordering. A couple special notes:- We currently do not embed fonts into the PDF, so your font choices are:"Helvetica", "Helvetica B", "Helvetica I", "Helvetica BI", "Courier", "Courier B"- Wrapped text boxes are not currently implemented, just single lines of text.- Images work fine. It's currently not that easy to draw an image with the correct aspect ratio, but that's a long-standing problem with drawing, not printing, and will be fixed shortly.Previewing printed pagesWe used to have a print preview feature, which captured a snapshot of the most-recently-printed page. We now have a more Realtalky way of previewing: proofs are objects and we can just look at them. Here's a page that shows its own proof, updating live. This is exactly the same proof that would get printed if you were to wish a new page exists.When /proof/ is a new box on the "right" of (you):Claim (proof) is a proof for page (you).EndNotesHow this happenedIn an earlier email, I showed the new illumination format, a stream of readable vector-drawing commands. I was looking at that and it occurred to me, "I bet we could convert illuminations to PostScript. But then they'd no longer be just 'illuminations', they'd simply be 'drawings'." Then a bunch of stuff happened, and now we no longer have illuminations nor PostScript.Illumination languageRealtalk's first syntax for specifying illuminations was Paula's "Illumination DSL" (back on page 307!) which used "Draw". "Draw" returned a table representing a NanoVG command:local illum = {Draw text (count),with position (x, y),with fill color ("white"),with font size (3),with alignment ("center middle").}Wish (you) has illumination (illum).The method-based illumination API came later (page 1197), implemented by Toby and maybe others.ill:circle { center=particle, radius= 0.2, fill="red" }The DSL was soon obsolete, although it remained in the ghost pages for a long time. But the Draw syntax is way more readable (and too much "ill" can make you feel ill), so its renaissance is a good move forward.PostscriptFrom almost the beginning, we have printed by generating Postscript, because I thought that printers natively spoke Postscript and I was in a "no superfluous conversions" phase. (Alternatives proposed at the time were, e.g., generating SVG, then converting it with an external tool.) (See email from 6/6/2017, subject "straight to the vein".)We added some niceties over the years (particularly Josh's "Postscript DSL", which provided a function-call syntax for PostScript commands), but it remained the case that drawing on a printed page was basically impossible for almost everyone, and unreadable for actually everyone. Further compounded by the PostScript drawings being in a different coordinate system than illuminations (origin at the bottom-left corner of the paper, going up).Having our prints and illuminations in both the same language and coordinate system is, I think, going to open up a lot of possibilities.At one time, printers did natively speak Postscript, but it turns out that everything built in the last twenty years is more comfortable with PDF than Postscript, and PDF is only slightly more cumbersome to generate. So all Postscript in Realtalk has been eradicated and we've joined the twenty-first century.We're generating PDFs from Realtalk drawings, which are nominally streams of NanoVG commands. But PDF's rendering model is a bit more restrictive than NanoVG's, so the command set and ordering has been tweaked a bit to satisfy both backends.Our drawing-to-PDF converter is basically three pages. (Compare "jsPDF", which is somehow 120590 lines of code.) One page converts non-cubic-bezier shapes (such as circles, arc, round rects, quad beziers) to cubic beziers, which is all PDF can handle. That's not an easy conversion, but NanoVG already does it internally, so we just stick a proboscis into NanoVG and extract its internal conversions!ThresholdsDrawings are a lot better than how we used to do illuminations, and way better than how we used to do printing. But let's not forget that "Draw" is a Realtalky syntax for a very non-Realtalky thing to do, which is to draw pictures by typing text.Eventually, we need to be specifying our dynamic pictures using something along the lines of Drawing Dynamic Visualizations, Apparatus, Cuttle. But also along the lines of Toby's "dynamic drafting paper", Luke's "marks kit" prototypes, even Josh's hand-drawn fonts -- interpreting hand-drawings and tracing real-world tableaus.Hiring someone for a student/internship project to bring all the prior work together into something suitable for Realtalk is probably a bad idea, but maybe not the worst idea.UpdatingThe existing Illumination Kit and Print Kit rulebooks have been updated, so everyone should already be using the new stuff. But because of the renaming, there is a new rulebook for Drawing Kit which I'll be updating going forward:36405, -- Drawing Kit rulesYou should put it in your area rules, removing "Illumination Kit rules".Picturesmuch more readable<IMG_8695.jpeg>draw on an object and print it out<IMG_8698.jpeg>illumination + PDF + print<IMG_8704.jpeg>page proofs<IMG_8699.jpeg>the new kits, printed with themselves<IMG_8702.jpeg>the best encoding software<rt-pdf.png>