Here are the materials and instructions for making a poster / kit:
surface
1 black foam board, 20" x 30" x 3/16"
1 cork shelf liner, 18" x 4'
double push-pins
border
black masking tape, 1" wide
glitter washi tape
glue
clips
16 binder clips, 75-sheet capacity, 5/16" thick, 3/4" wide
16 flathead screws, 18-8, 1/4"-20 thread size, 3/4" long, undercut profile
16 hex nuts, 1/4"-20 thread size
16 wing nuts, 1/4"-20 thread size
rulebook and pocket
1 wood square, 4.75” wide, 3/16" thick
(special order 4.75" width)
tagboard
double-sided tape
instructions
You can see the basic procedure in this video, although some details have evolved:
1. Cut a cork roll to the length of the posterboard, and attach it to the posterboard.
2. Around the poster, place a border of masking tape, a line of glue, and a border of glitter tape.
3. Drill 16 holes down the exposed black surface of the poster, 1.5" apart, inset from the edge by 1". (Best to make a mask first.)
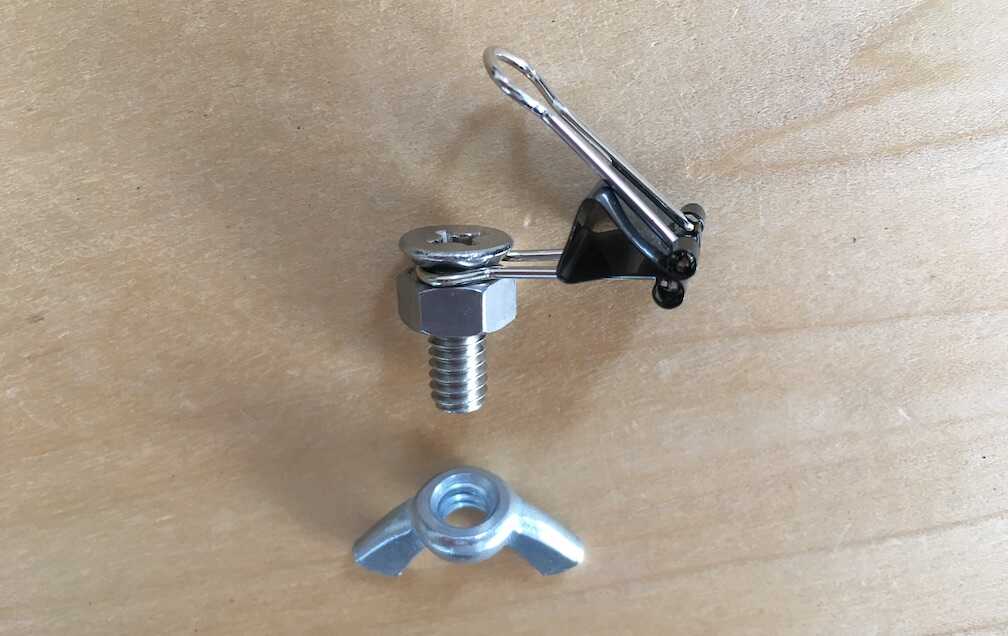
4. Slide a binder clip onto a screw, and secure with a hex nut, as shown below (b). (I use a screwdriver and socket wrench.)
5. Insert the screw into a drilled hole, and secure by hand with a wing nut.
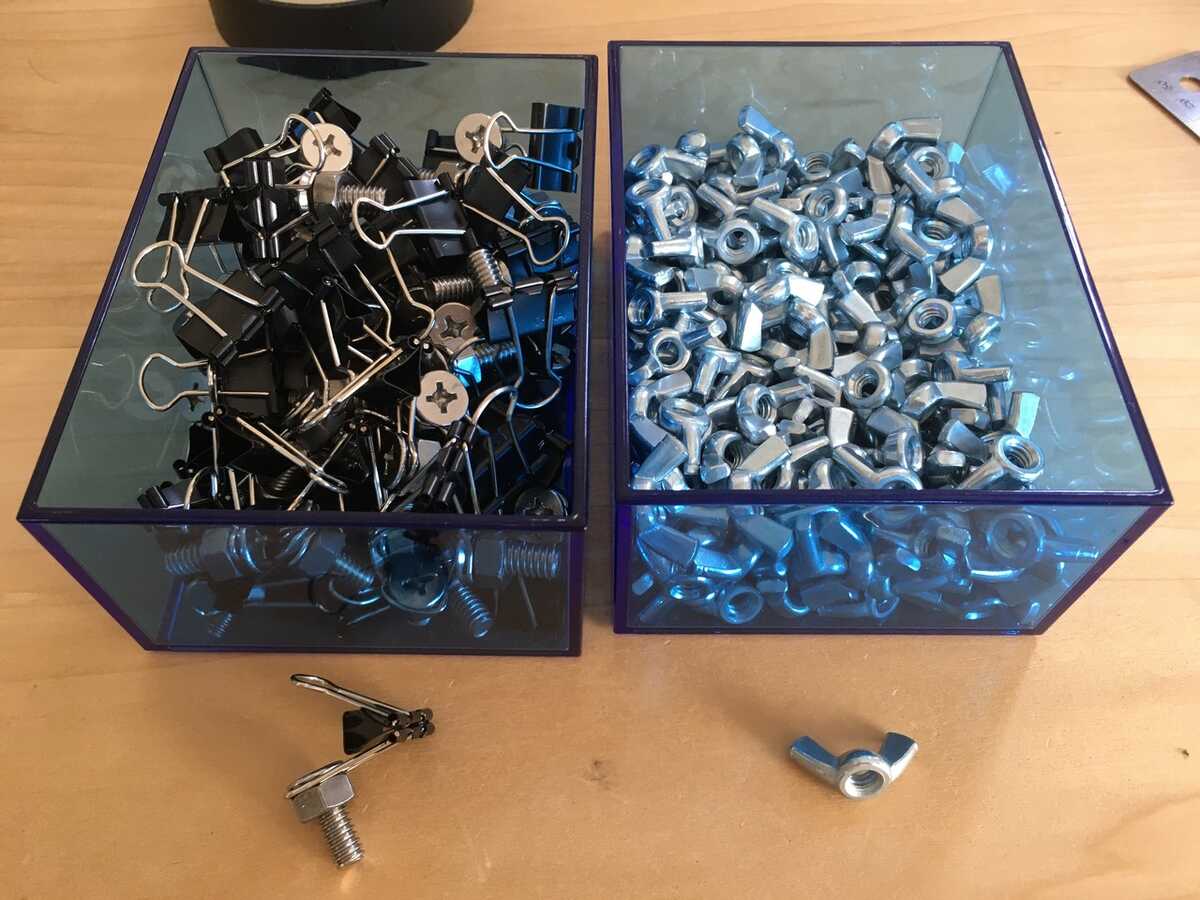
Because the posters are heavy with all 16 clips attached, I've been adding them as needed from a box of pre-made screw-clips. (c)
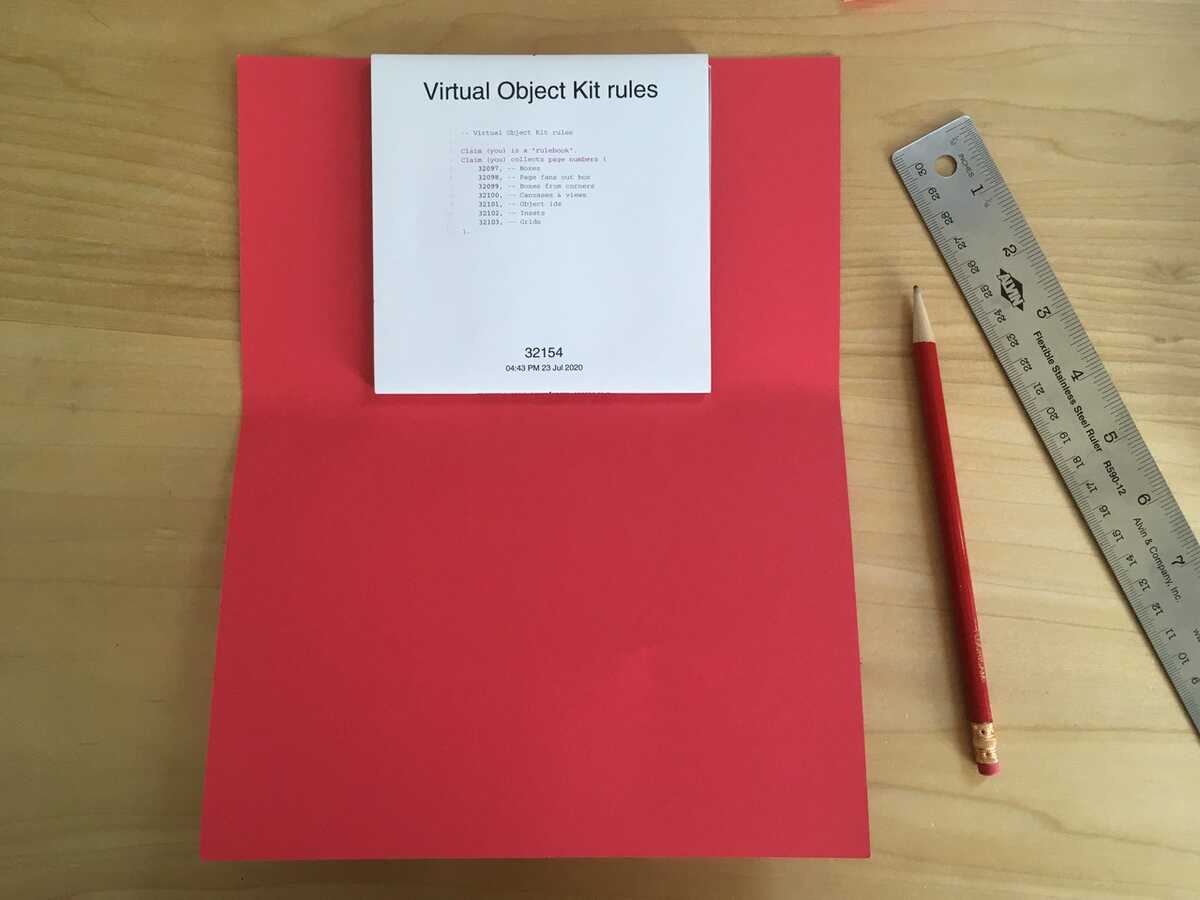
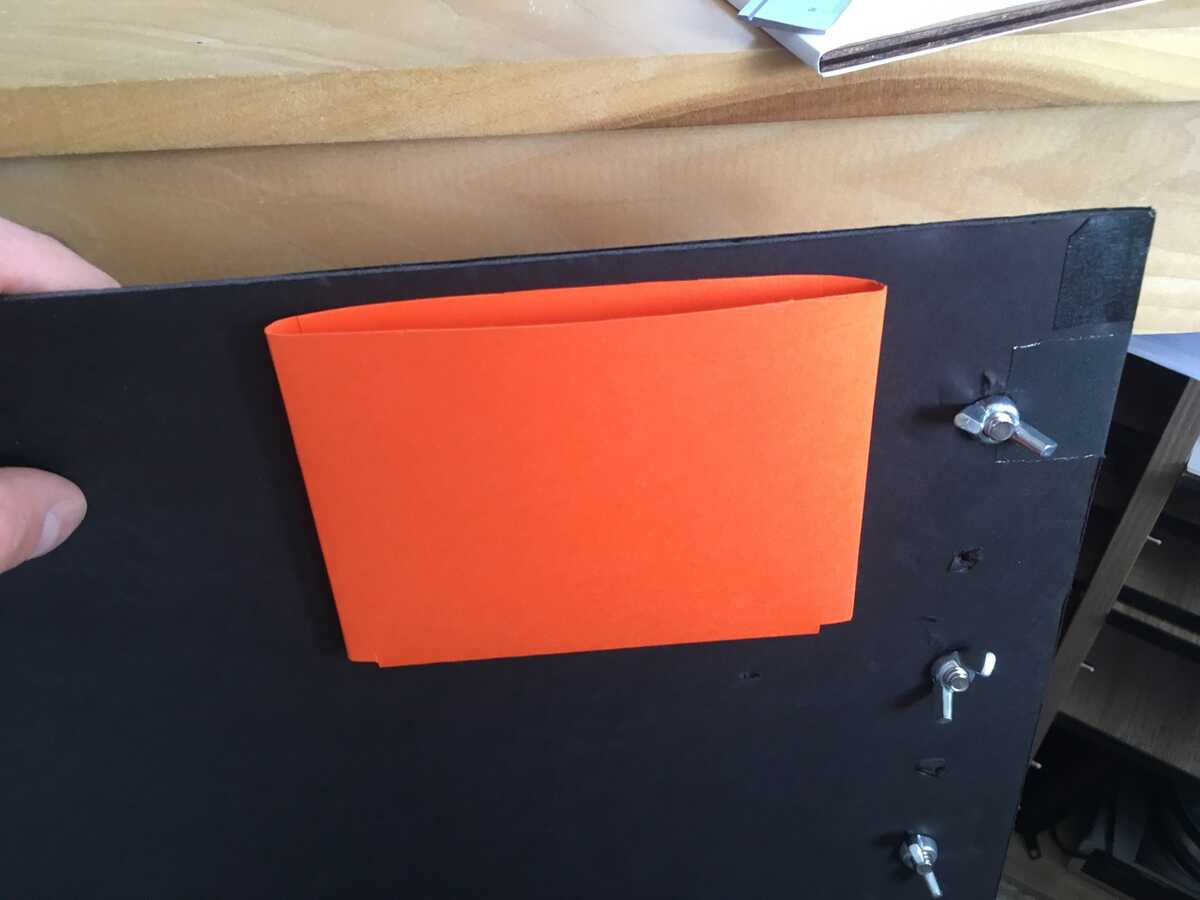
6. Fold a piece of tagboard around a wood square to make an envelope (d). (Pad the square a bit so the envelope isn't too tight.)
7. Attach the envelope to the back of the posterboard with double-sided tape (e), and insert rulebook.
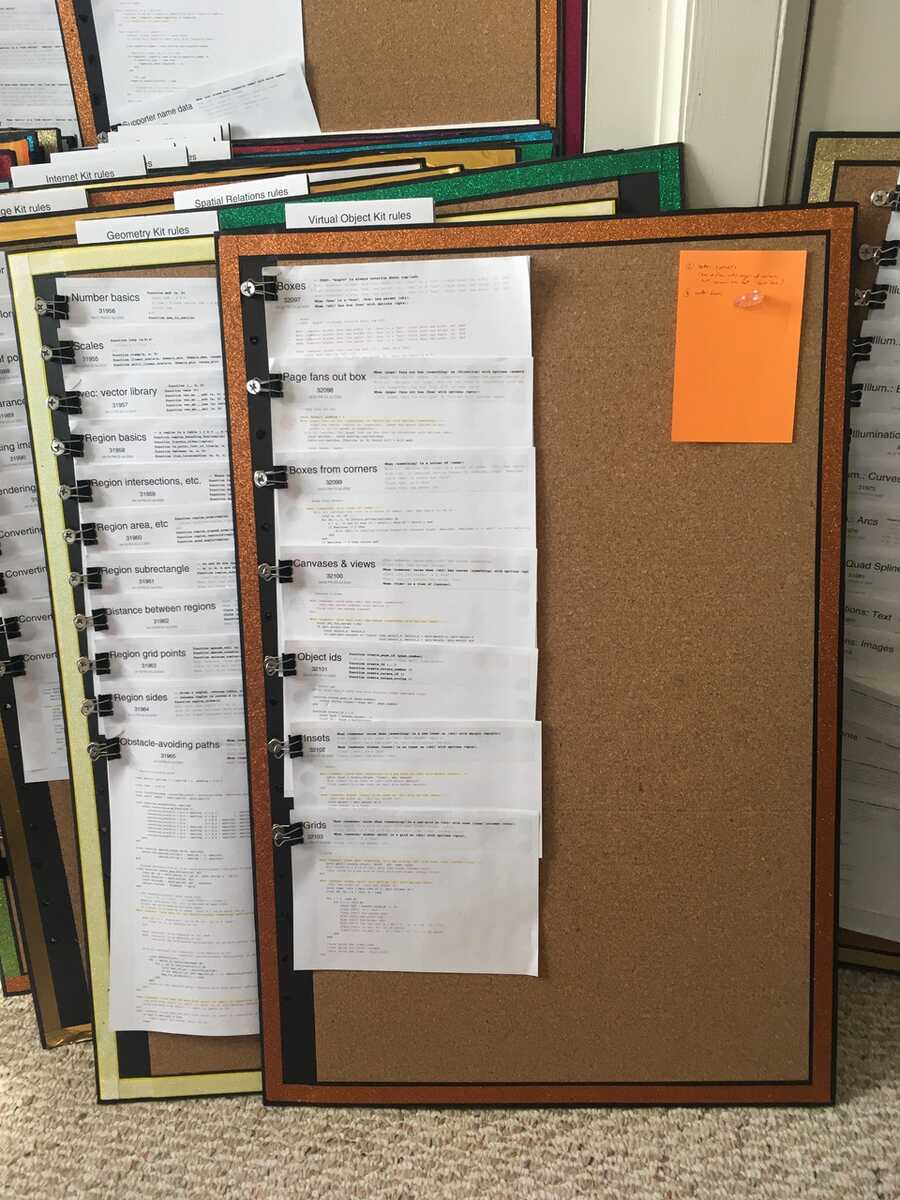
8. Attach non-clipped material to the posterboard using the double-pushpins. (Pin in the top-left corner of the page and stack staggered for easy browsing.)
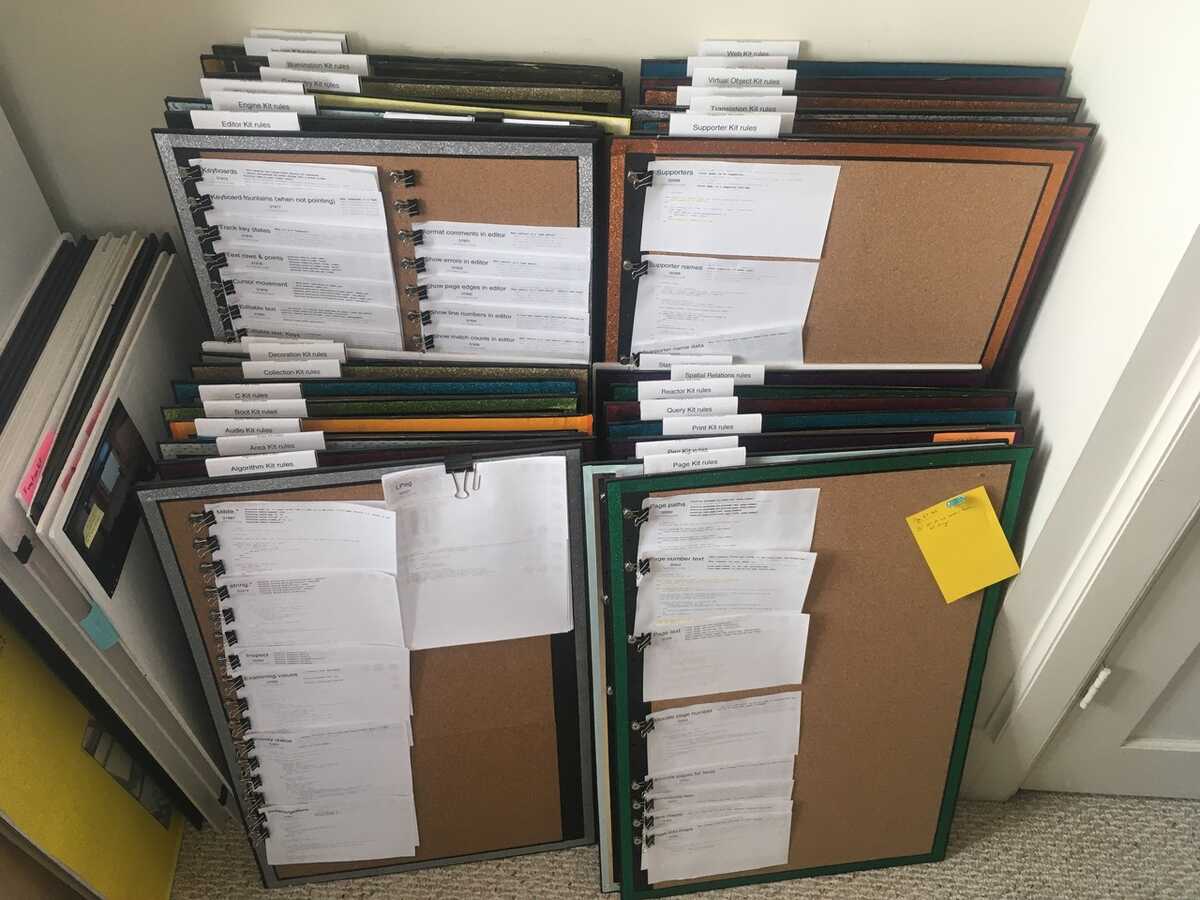
9. Arrange posters as desired. (f)
(a)
(b)
(c)
(d)
(e)
(f)